Last updated and tested: 2025-08-18
Attention!
If you are already using an older version of Oscam iCam and you’re happy with it, then you don’t need to upgrade your oscam to v9 :)
In any case, before installing please make a backup of your receiver’s configuration!
Binary files for ARM and MIPS receivers can be downloaded here:
v9 – https://cardsharing.co/downloads/oscam-icam-v9.zip (Updated 2025-08-18)
(Thanks for icb and Alex from the digital-eliteboard)
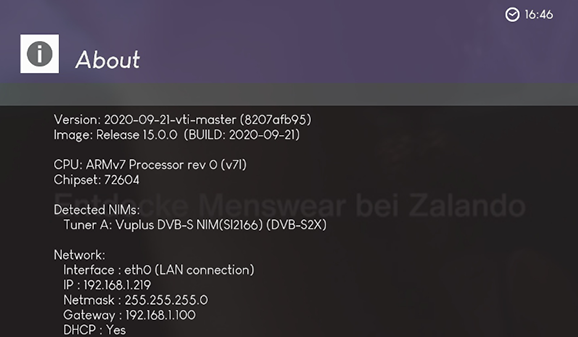
Oscam emulator with iCam support can be installed on almost any Enigma2 receiver, regardless of firmware. In our example, we will be installing the emulator on a Vu+ ZERO 4k receiver with VTI 15.0.0 (build 2020-09-21) firmware.
To install the emulator manually, you need to have access to the receiver via telnet or ssh. You also need to have an installed version of the Oscam emulator. For example, I have oscam-stable installed. If you don’t have Oscam installed, install it via softcam menu.
Unpack the ZIP archive downloaded above on your PC. Inside the archive you will find bin, bouquets and config folders.
Next, you must replace the executable file on your receiver with a new file from the archive… First of all, find where the oscam executable file is located in your receiver. It is usually located in /usr/bin/ or /usr/softcams/ folder. In my case, this is /usr/bin/oscam_1.20-unstable-11682
Rename the local file “oscam-icam-v9_arm(vu+other).bin” (or “oscam-icam-v9_mips(all).bin” for MIPS receiver, or “oscam-icam-v9_aarch64(dreambox).bin” for AArch64 receiver like a DreamboxONE) in bin folder exactly the same as you have in the receiver. In my case, I renamed the file to oscam_1.20-unstable-11682
Upload the file to the receiver, overwriting the one that is there.
Set the permissions on the file to 755. You can do this by running the command in telnet or ssh:
chmod 755 /usr/bin/oscam_1.20-unstable-11682
Use path to your Oscam instead of /usr/bin/oscam_1.20-unstable-11682
Login to the receiver using telnet or ssh. Try running the emulator. In my case, I have to run the command:
/usr/bin/oscam_1.20-unstable-11682
If you see an error like:
/usr/bin/oscam_1.20-unstable-11682: error while loading shared libraries: libcrypto.so.0.9.8: cannot open shared object file: No such file or directory
Then you need to put the correct link to the libcrypto.so library To do this, depending on your firmware, you need to run the command (in my case):
ln -s /usr/lib/libcrypto.so.1.0.2 /usr/lib/libcrypto.so.0.9.8
or
ln -s /lib/libcrypto.so.1.0.2 /lib/libcrypto.so.0.9.8
or (for example for VTi)
ln -s /lib/libcrypto.so.1.0.0 /lib/libcrypto.so.0.9.8
or (for example for DreamBox DM900)
ln -s /usr/lib/libcrypto.so.1.0.0 /usr/lib/libcrypto.so.0.9.8
or (for example for DreamBox ONE)
ln -s /usr/lib/libssl.so.1.0.2 /usr/lib/libssl.so.1.0.0
ln -s /usr/lib/libcrypto.so.1.0.2 /usr/lib/libcrypto.so.1.0.0
On OpenPLI firmware I had another problem. The emulator did not start, gave an error:
/usr/bin/oscam_1.20-unstable-11682: not found
To fix this error, run the command:
ln -s /lib/ld-linux.so.3 /lib/ld-linux-armhf.so.3
If the emulator starts normally, you should see something like this in the console:
————–
16:56:40 00000000 s >> OSCam << cardserver log switched, version 1.20_svn, build r11714-798 (arm-vuplus4k-linux-gnueabihf-ICAM_DVBAPI-V7-built_by_Alex)
16:56:40 00000000 s (main) System name = Linux
16:56:40 00000000 s (main) Host name = vuzero4k
16:56:40 00000000 s (main) Release = 4.1.20-1.9
16:56:40 00000000 s (main) Version = #1 SMP Thu Sep 10 18:20:41 CEST 2020
16:56:40 00000000 s (main) Machine = armv7l
16:56:40 00000000 s (main) Stb model = dm8000
16:56:40 00000000 s (main) Stb vumodel = vuzero4k
16:56:40 00000000 s (main) Stb boxtype = vuzero4k
16:56:40 00000000 s (main) creating pidfile /tmp/.oscam/oscam.pid with pid 2512
16:56:40 00000000 s (emu) OSCam-Emu version 798
…..
————–
Press Ctrl+C to stop the emulator. Let’s move on to setting up the configuration files.
Find the location of your Oscam configuration files. They are usually located in the /etc/tuxbox/config/ folder. In my case, the files are located in the /etc/tuxbox/config/ folder.
In the previously downloaded archive in the config folder you will find an approximate configuration. In order for oscam-icam to work, you need to make changes to the following files on your receiver:
[streamrelay]
stream_ecm_delay = 0
stream_relay_ctab = 098D
Please do not delete [global] and [dvbapi] sections! Otherwise, you will not be able to watch non-icam channels (HD+, ORF, etc.)
In the archive you downloaded above in the config folder you will find the oscam.conf and oscam.user files which will work on most receivers. You need to make changes to the oscam.server file
Attention! Don’t forget to start your Oscam emulator. On VTi firmware, this can be done through the menu MENU->VTi->Softcam
In this version of iCam v9 and starting from iCam v7 there is no need to set any Enigma options.
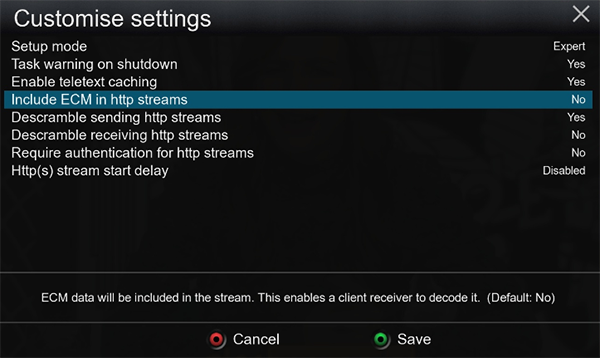
However, if you have previously used an earlier version of iCam on this receiver, such as iCam v3, then you will need to make changes to the Enigma settings:
1) Disable “Include ECM in http streams” option in enigma
2) Enable “Descramble sending http streams” option in enigma
3) Remove the [radegast] section from the oscam.conf config if it exists
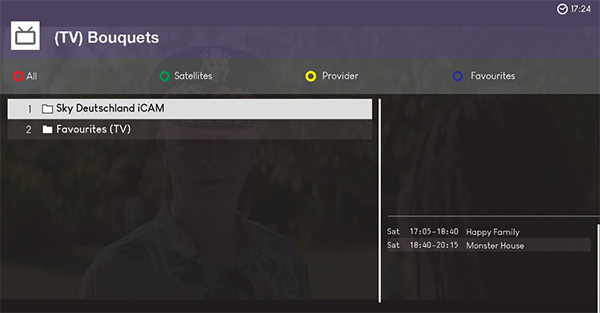
Go to /etc/enigma2 directory on your receiver and open bouquets.tv file, before Favorites bouquet add the line:
#SERVICE 1:7:1:0:0:0:0:0:0:0:FROM BOUQUET "userbouquet.SkyDeIcam.tv" ORDER BY bouquet
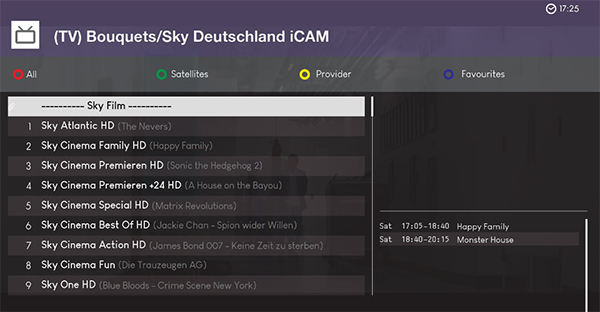
Then upload the userbouquet.SkyDeIcam.tv file to the /etc/enigma2 folder (In case you have Sky by cable please download pyur version)
You can also import the channel list using the DreamboxEdit program.
© 2024